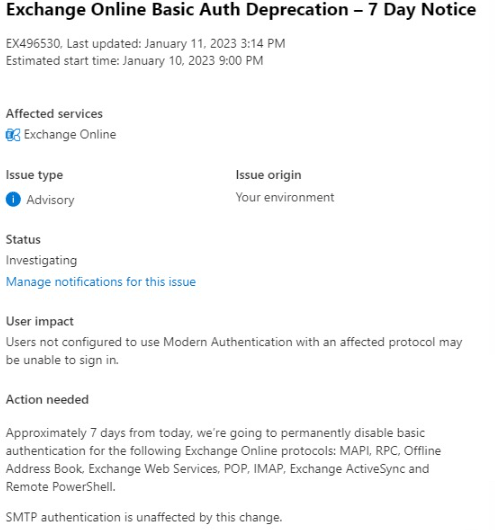
In a few days the basic authentication mode (which could be forced through the portal) will be unavailable. To allow e.g. mail sending from pop3,imap powershell. The advanced authentication mode OAuth2 must be used.
Quick setup of modern authentication
Step 1, create app Azure
Create an application in Microsoft Azure
Create a name for identification

Once the application is created. Save the following values (we will need them later)
Step 2, Add permission APP
Once the application is created. In the left menu we choose «API permissions» and add permision «Office 365 Exchange Online» – «Applications permisions» – IMAP AccessAsApp
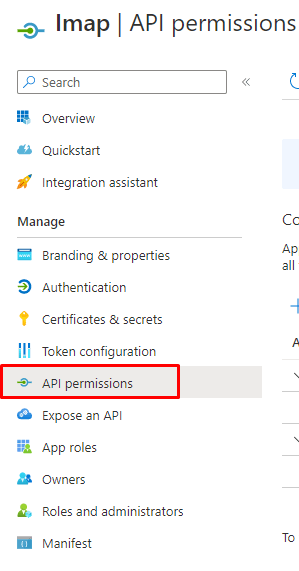


Do not forget to «Grant admin to consent«
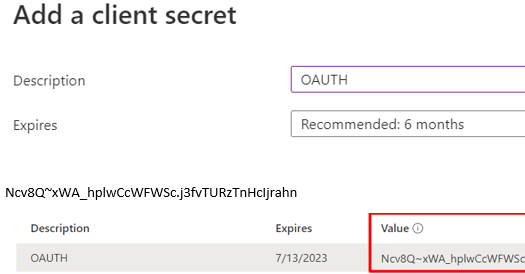
Step 3, Add secret key
We must create a secret key, which we will use in the future in our applications that will send mail. Copy the value of the key (only available on creation) and save it
The previous steps allow us to have an application with its permissions and secret key, for sending mail (in this example imap) from any application.
Step 4, add permission account
In this step, we will assign the necessary permissions so that only one account can make use of the application and send mail. To generate the permissions, we need 2 prerequisites module powershell azure, and module exchangeonline
Installation of powershell modules:
Install-Module azureadpreview
Install-Module -Name ExchangeOnlineManagement
Once installed, we connect to our azure

connect-azuread -TenantId bd927bbe-697a-427c-99f1-fedc74ffde18
we validate our application andstore the properties in a variable
Get-AzureADServicePrincipal -SearchString «Imap OAUTH»

$APPIMAP= Get-AzureADServicePrincipal -SearchString «Imap OAUTH»
We connect to exchangeonline
connect-exchangeonline
We create a new service associated with our application
New-ServicePrincipal -AppId $APPIMAP.appid -ServiceId $APPIMAP.objectid -DisplayName «Service IMAP»
And we add the permission for a previously created account
add-mailboxpermission -identity appimap@contoso.com -user $APPIMAP.objectid -accessrights fullaccess
Step 5, Test
To quickly validate our application and mailing. We will make use of a powershell previously created
https://github.com/DanijelkMSFT/ThisandThat/blob/main/Get-IMAPAccessToken.ps1
The required parameters are the 3 previously saved values. TenantID – ClientID – Secretkey
.\Get-IMAPAccessToken.ps1 -tenantID «b236e9b0-cb9d-4345-9fa6-1ec7dbbe7b6d» -clientId «15af54a3-1b39-4b09-911a-61668aa61dc2» -clientsecret «6tJ8Q~lBF6VZZx4vmRUj-4jv15r-5e8p9bhJSbte» -targetMailbox «appimap@contoso.com» -Verbose
If there are no errors. We will have a successful exit

